Our local 10-minute oil change store finally has gotten it right: You don’t have to change your oil every three months or 3,000 miles unless you drive your car hard. As in taxi fleet hard.
These days, shops have realigned their businesses to perform oil changes per manufacturer recommendations. That means it isn’t uncommon to go 5,000 or up to 7,500 miles between oil changes.
Customers that were previously duped into shorter oil change intervals are saving money, although it seems that prices have risen too with one local shop charging nearly $45 for five to six bottles of oil and a new oil filter.
One option worth exploring is changing your oil yourself. It is a quick and easy job, one that you should be able to complete within 30 minutes.
Like gas, oil prices have climbed which means you’ll probably pay $20 to $25 for the oil and another $5 to $10 for an oil filter. You’ll also need some tools, so don’t expect to get your investment back with your initial oil change.
Tools Needed: A pair of latex gloves, rags, a socket wrench; an oil filter wrench; an oil drain pan; a funnel and a pair or ramps or jacks. Keep an oil plug washer handy — just in case.
DIY Oil Change Steps
1. Assemble Your Tools
I like to lay everything out on the ground next to the car, but within easy reach of where I am working under the car. Put on your gloves.
2. Raise Your Car
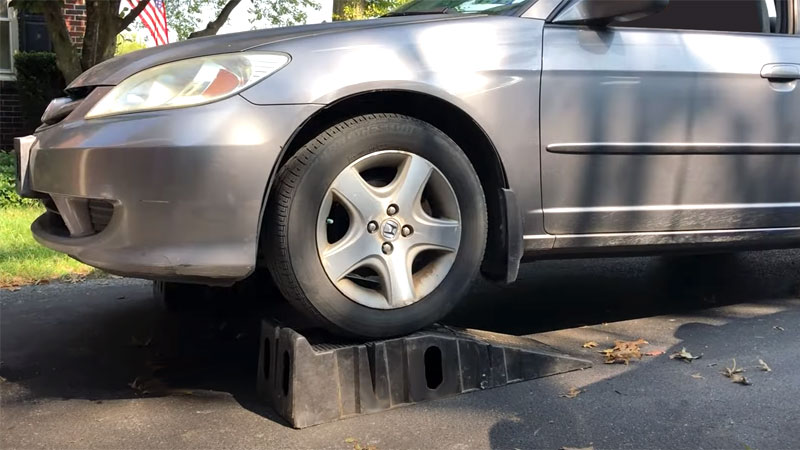
Place your car on ramps or use jacks to provide sufficient ground clearance to work on your car. Your engine should be warm, not hot, when changing the oil. Most mechanics do not recommend that you work with cold oil as warmer oil easily flows, making for simpler drainage. Set your parking brake.
3. Pop the Hood
Loosen the oil filler cap as this will allow air to push into the crankcase for easier drainage.
4. Crawl Under the Car
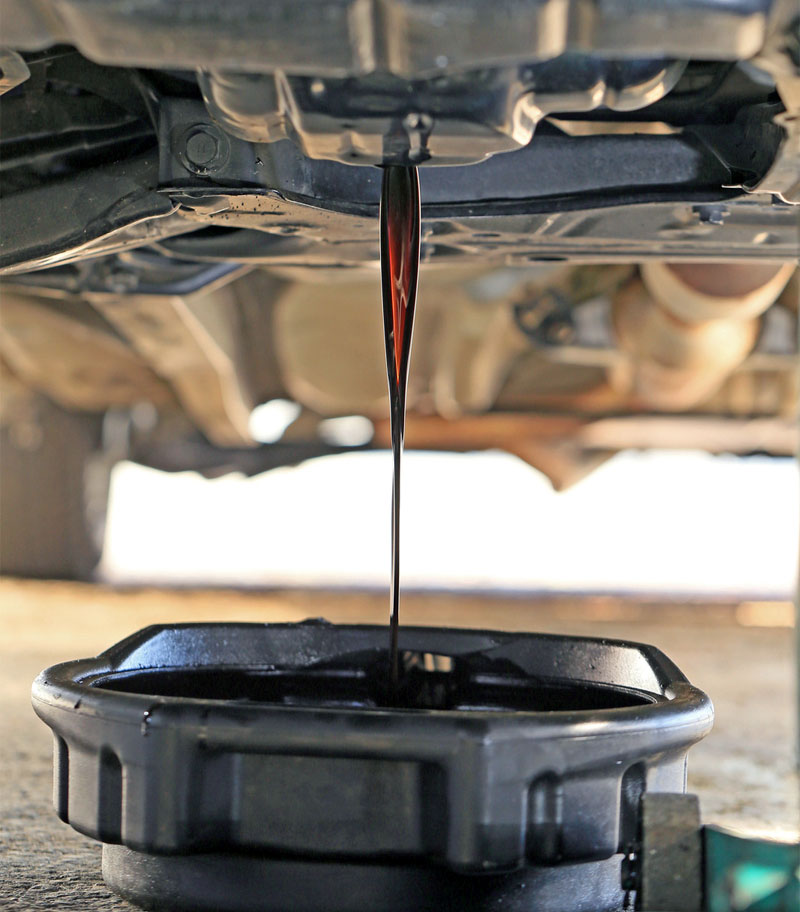
Lay newspaper on the ground or floor directly beneath your car’s oil pan. Position your oil drain pan under the oil drain plug.
5. Loosen the Plug
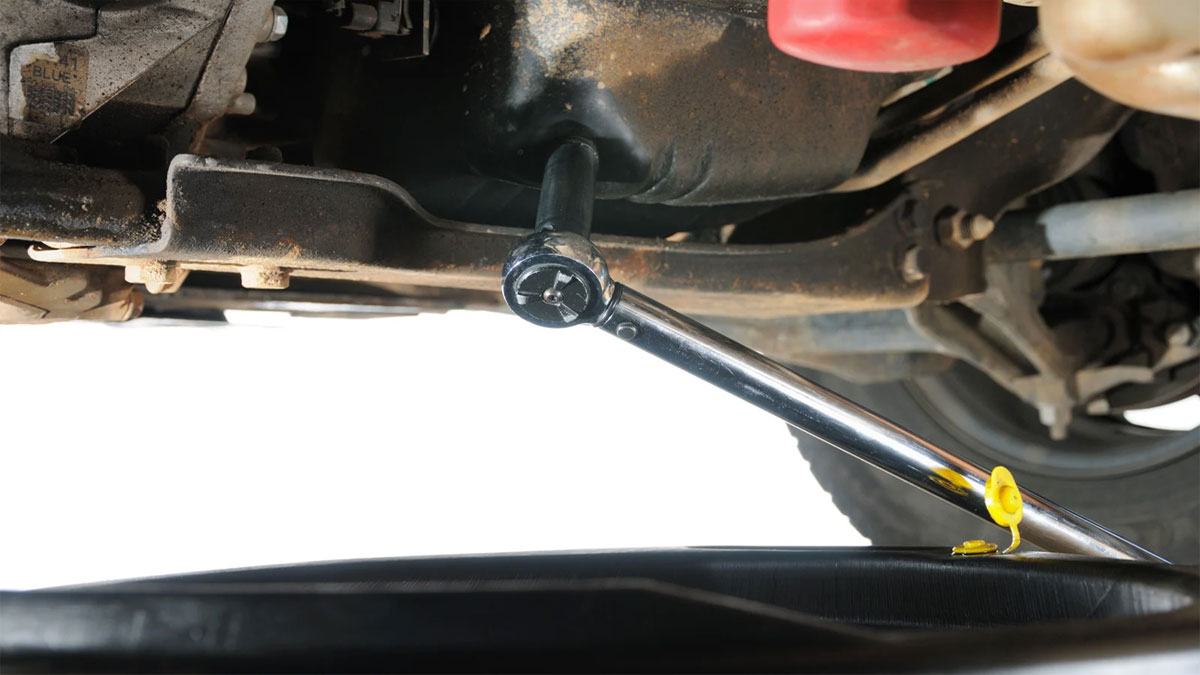
Take your socket wrench, using the right sized socket to loosen the bolt. Use the wrong size and you may strip the bolt. Once your bolt is loose remove it to allow the old oil to drain into the pan. Place the bolt where you can easily find it later.
6. Find the Filter Assembly
With your oil filter wrench in hand, find and remove the oil filter. Take care to avoid spilling the residual oil left in this filter.
7. Replace the Oil Drain Plug
Once all of the oil has been drained from your car, tighten the drain plug back in place — install a new washer, if needed. Remove the now filled oil drain pan away from your work area — you will deal with this later.
8. Install the New Oil Filter
Open a new can of motor oil and with your gloved hand, dip your index finger into the oil and spread fresh oil around the new filter’s O-ring. Put the new filter in place and tighten it.
9. Pour In New Motor Oil
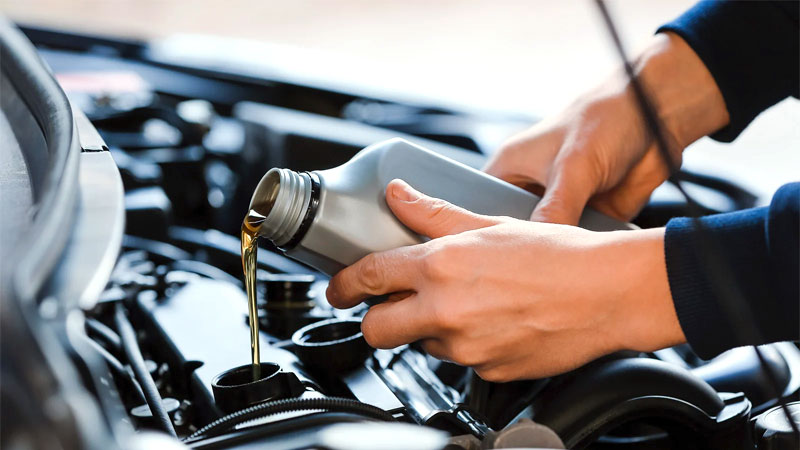
With your drain plug tightened and your oil filter in place, you’re ready to pour fresh oil into your engine compartment. Place a funnel inside the drain opening and begin pouring your oil. If you’re using 1-quart containers, allow for each one to completely drain before moving on to the next one. Hold back a half-quart of oil until later.
10. Finishing Up
Replace the oil cap and start the engine. Once it has run for one minute then look underneath for leaks. With newspaper still in place, leaks will be easy to spot. Once you have confirmed that everything is fine, ease your car off the ramps or lower the jacks. Turn off the car.
11. Check the Oil Level
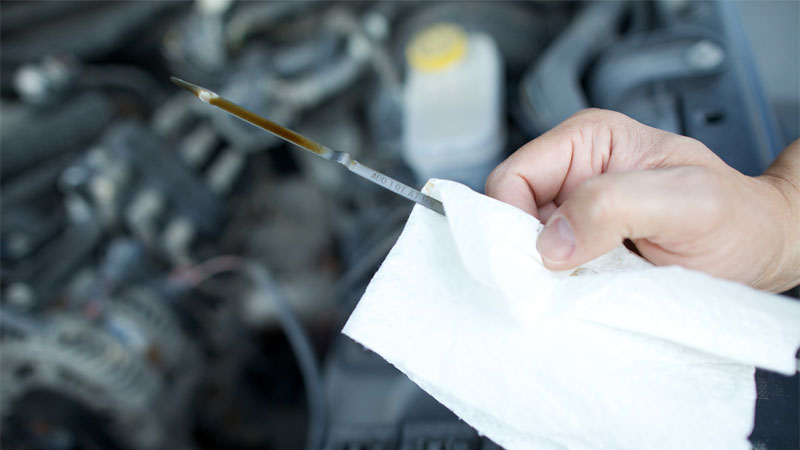
Pull out the oil dipstick and note how much oil is in the engine. Given that you held back some oil, you will need to add the remaining oil until the full level has been reached.
12. Clean Up
Discard newspapers, rags and gloves, clean off and store your tools, recycle your oil cans and properly dispose of your motor oil. Your town or auto parts store most likely will take your waste oil off your hands at no cost to you.
Many communities will also take your used oil filter and recycle it. In some states, used filters are considered hazardous waste and may not be disposed of in household trash.
Wrapping Up
Once you complete your first oil change, you will understand how easy this job is. Schedule your changes for spring and again for the fall when the weather conditions are neither too hot or too cold.
Save money on supplies too by shopping when oil and filters are on sale, storing these items for your next oil changes.
See Also – Oil in the Spark Plug Wells (Causes and How to Fix)
- 2024 Mazda CX-50: A Compact SUV with Premium Aspirations - Apr 15, 2024
- 2024 Ford Mustang Review (Iconic Pony Car Evolves) - Apr 4, 2024
- 2024 Ford Maverick Review (Looks Like a Truck, Drives Like a Car) - Mar 28, 2024

