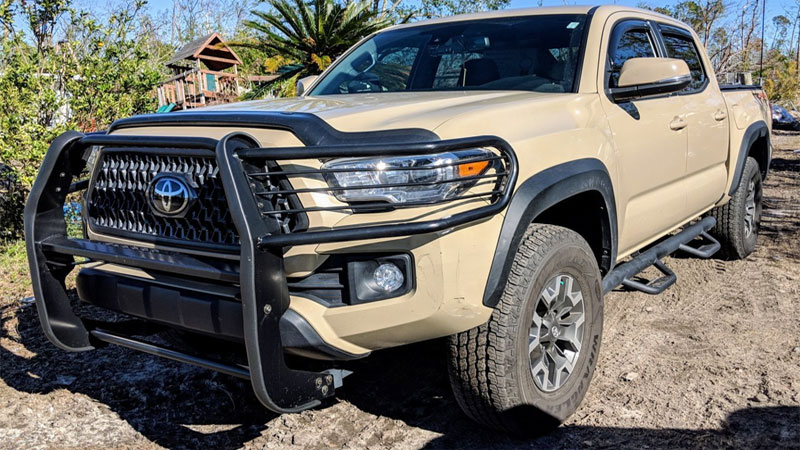
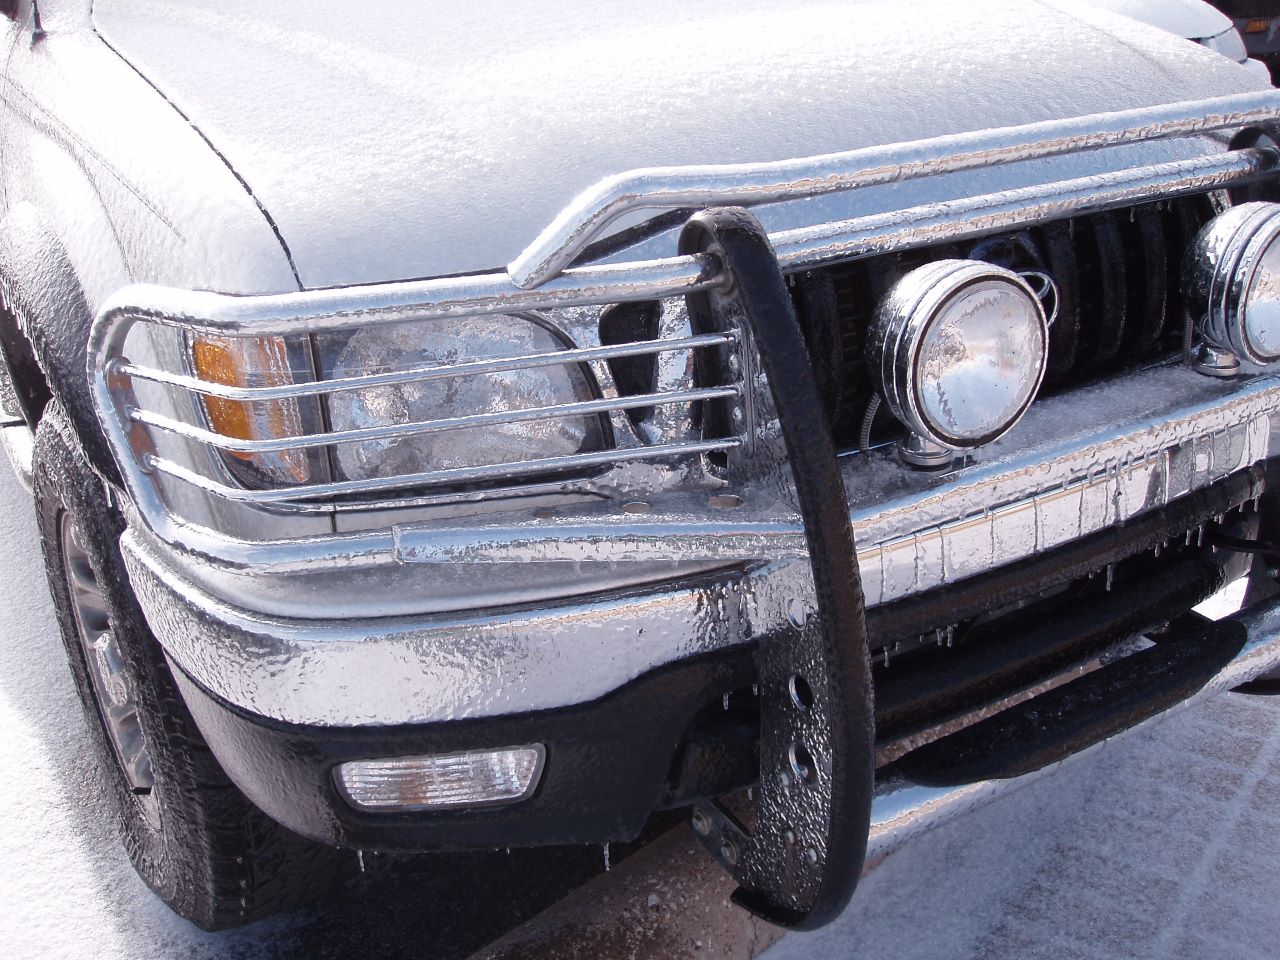
In a traffic-prone environment, the risk of vehicles colliding is quite high. And in a survey done between 1998 to 2015, it was estimated that 74% of all reported accidents were front-end collisions.
This survey shows that front-end collision is more rampant and should be guarded against. For that specific reason, grille guards are a popular way to protect the front of your vehicle.
While you can pay a shop to install a grille guard for you for a few hundred dollars, DIY installation isn’t as difficult as you may think. Here’s how to do just that.
How To Install Grille Guards On Vehicles
The benefits of installing a grille guard cannot be overemphasized, as it can help prevent injuries and extreme damage to your car. Since you cannot avoid a collision, it is imperative to know how to protect yourself when it occurs.
Preparation
Tools required
There are different tools needed for you to install a grille guard successfully, and they include:
- Ratchet and hand wrenches
- Sockets
- Screwdrivers
- Penetrating lubricants
Aside from the tools listed above, there are other optional tools like:
- Drill bits
- Power drill
- A Portable saw or a cutting wheel grinder
- Die grinder
Time Estimate
It will take you about 30 to 60 minutes to install the grille guard on your car. But for the installation process to be swift and easy, follow the steps below precisely.
Step-by-Step Guide
Step No. 1: Install the lower bracket
The first step to installing the lower bracket is to locate the pre-drilled holes in the vehicle’s frame. The holes also serve as hooks for towing cars from the front. After finding the hooks, the next step is to unbolt and loose them with the help of a penetrating solvent.
You can place a black-colored plastic filler plug in the holes in some cars. And to remove the plugs from the holes, you will need a flathead screwdriver. Also, if there are additional bolt plates on the grille guard, you should fix the lower bracket to the plates instead of your car frame.
Note: Mounting the lower brackets is dependent on the type of vehicle and its design.
Step No. 2: Cut a pass-through hole on the bumper
This next step involves the proper fitting of the grille guard at the center of the bumper. And to do this, you will need someone to assist you. Identify the central position of the grille guard on the lower bracket and mark it.
Then, cut the marked part on the bumper with a portable saw, die grinder, or cutting wheel grinder. Place the bumper on the lower bracket to see if it fits and reshape it until it fits properly.
Step No. 3: Fixing the upper mounting bracket
The brackets are installed beneath the bumper level or between the frontal grille guard openings. If the bracket end does not fit into the grille slot, it should be fixed from behind the grille slot. This step is only required for those mounting full-width grille guards.
Also, some cars might not be built to allow the brackets to go through the grille slot. In this case, you can remove the grille temporarily. While in other cars, the pre-drilled holes are on the radiator pose or behind the grille. The brackets should be fixed through the pre-drilled holes.
After the lower and upper brackets are correctly fixed, ensure that they are all properly aligned and centered as required. Finally, tighten all the bolts and nuts.
Step No. 4: Install the winch and the guard piece
Some grilles are like bull bars that contain trays for mounting winch exclusively. When you encounter this, fix the support tray for the winch on the car frame. This process is similar to that of bolting on the grille guard.
The first step is to install the lower bracket and attach the tray to it. Then bolt the upper brackets properly and tighten them.
Step No. 5: Relocate the license plate
This step comes in when the grille guard obstructs the license plate in front. And you will need to buy a relocator bracket. After purchasing the relocator bracket, attach the license plate \holder to the relocator’s bottom. Sometimes you might be required to replace the original license plate with the new bracket.
Then, place the new bracket behind the grille and install the base on the guard piece. And ensure that the bars causing blockade are below the arms of the bracket. The final step is to place the license plate on the visible tabs.
Reasons To Have a Grille Guard On a Truck
There are different reasons for you to install a grille guard on your vehicle, and they include;
1. Debris Protection
As vehicles move, foreign objects such as rocks and other loose items can impact the car. The grille guard protects the truck against the impact of the debris along the road.
2. Protects your car against accidents with an animal
On highways, animals like deer and other animals do cross the road. So, the grille guard protects the car from the impact of an accident with animals. But despite this protection, larger animals like elk and moose can still inflict damage to your vehicle.
3. It works with other truck accessories
The grille guard can also serve as a canvas to fix other accessories like LED panels or fog lights. And it does not interfere with the function of the tow hooks.
4. It’s a quick way to customize your truck
The grille guard serves as customization for your vehicle because you can style it anyhow you like. And you can select the materials to suit your personality and select colors that work for you.
See Also – Why Does My Car Smell Like Gas? 5 Possible Causes
- What the Letters and Numbers On an Automatic Gear Shift Mean - Sep 12, 2022
- How Long Does it Take to Change Tires? (Professional vs DIY) - Jun 8, 2022
- 2022 Ford Bronco EcoBoost Performance & Off-Roading Specs - Jun 2, 2022


